您现在的位置是:网站首页> 编程资料编程资料
vue封装一个弹幕组件详解_vue.js_
![]() 2023-05-24
379人已围观
2023-05-24
379人已围观
简介 vue封装一个弹幕组件详解_vue.js_
前言
现在很多地方都有使用到弹幕,最近在捣鼓自己的个人博客网站,也想着在里面加入一个弹幕模块,所以在这里封装了一个可复用的弹幕组件,目前已经实现了基本的功能,可能还会有存在缺陷,后续会继续优化。这里给大家介绍分享一下实现的过程。
功能实现
1、获取随机颜色
颜色编码是由6位16进制数组成,我们可以随机生成6位16进制数。
随机数生成
随机生成[min,max]区间的数字
getRandom(min, max) { return Math.floor(Math.random() * (max - min + 1) + min); },随机颜色编码生成
随机生成6位16进制数。
getColors() { const arr = "0123456789abcdef"; let color = "#"; let n = 6; while (n--) color += arr[this.getRandom(0, 15)]; return color; },2、随机生成弹幕出现的高度坐标
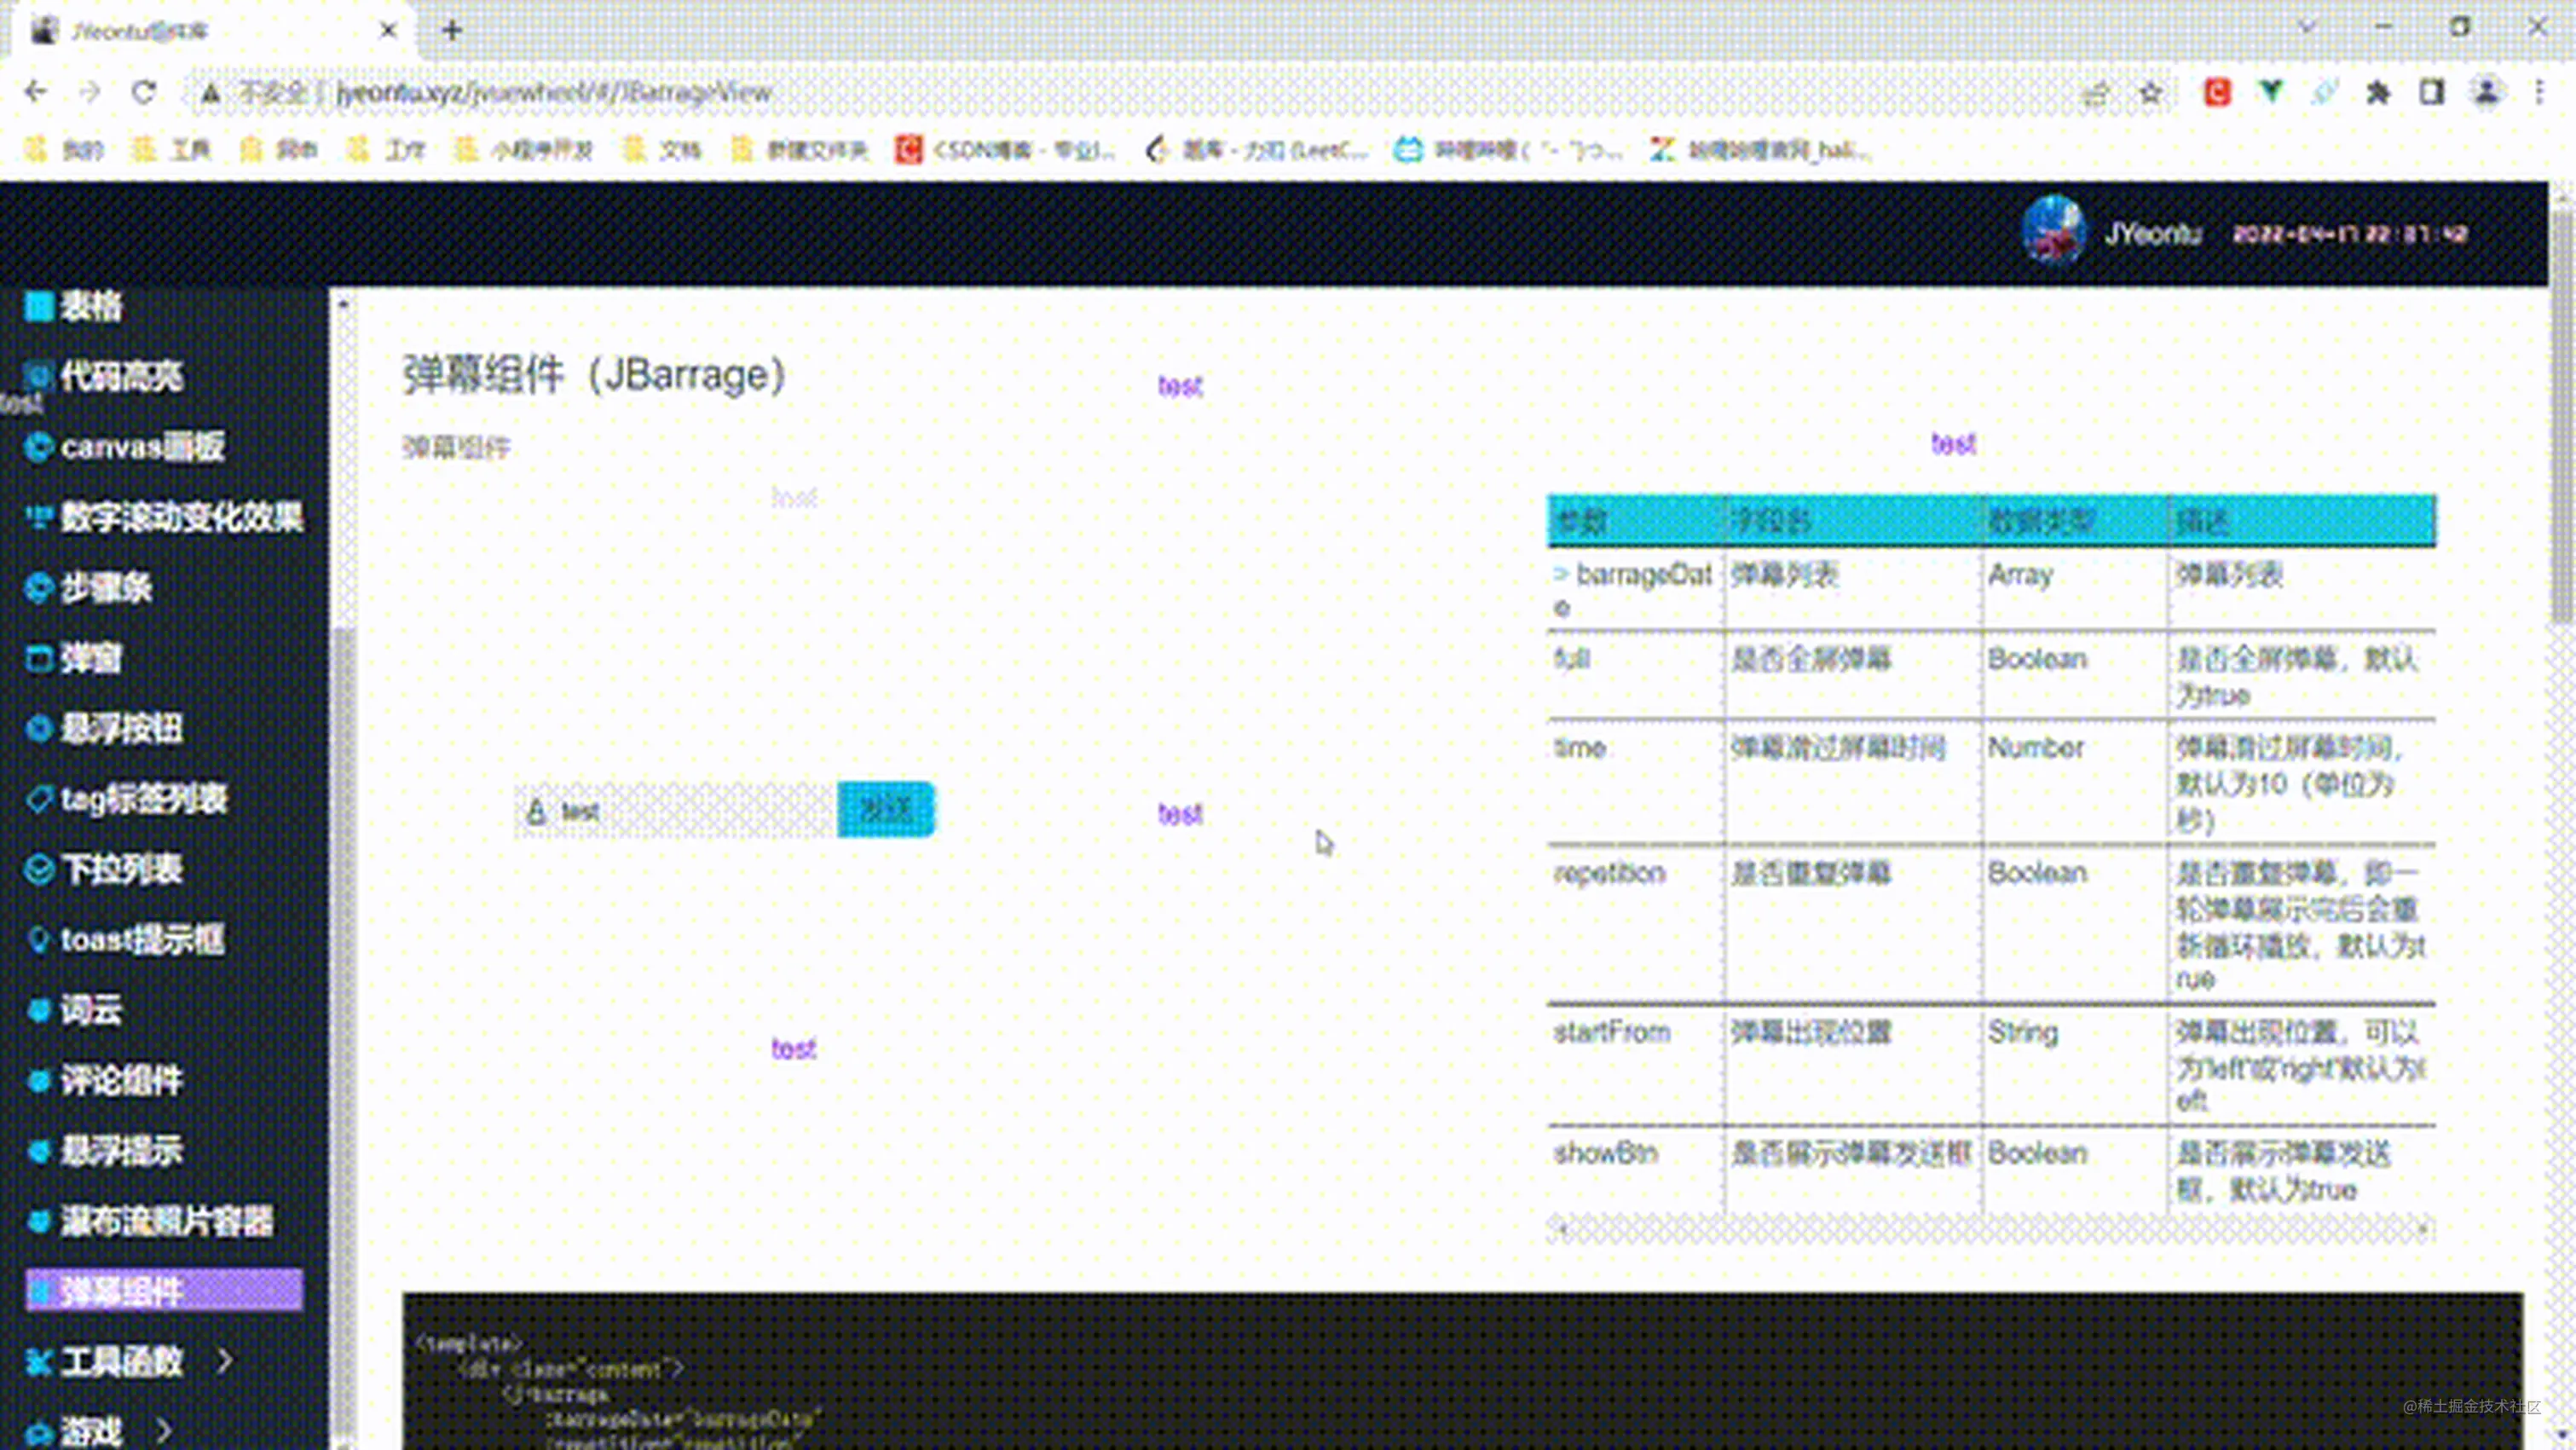
这里我划分了三块区域,分别为top、center和bottom,具体划分如下图:

代码如下:
getPosition(position = "") { let content = this.content; let height = content.offsetHeight * 0.9; this.width = content.offsetWidth + (5 * content.offsetWidth) / this.time + "px"; switch (position) { case "top": return this.getRandom(0, height / 3); case "center": return this.getRandom(height / 3, (2 * height) / 3); case "bottom": return this.getRandom((2 * height) / 3, height); default: return this.getRandom(0, height); } },3、格式化弹幕对象
定义的弹幕对象结构如下:
{ text: "111", color: "red", position: "top" //top,center,bottom }我们需要进行以下处理:
颜色
这里的color允许为空,为空时会自动生成随机颜色
定位
弹幕对象传入的position为top,center,bottom或者random,我们需要将这些文字转化为具体的y坐标值(即出现的高度) 具体代码如下:
formatData(item = {}) { item.position = this.getPosition(item.position); if (!item.color) item.color = this.getColors(); return item; },4、创建弹幕对象
格式化了弹幕对象的数据之后,我们需要利用这些数据转换成真正可以在页面上展示出来的dom对象,具体实现如下:
滚动动画定义
我们弹幕可以从右边出现滚动到左边,也可以从左边出现滚动到右边,这里分别使用来个动画来实现,具体代码如下:
创建弹幕dom对象实例
每一个弹幕我们使用一个span来生成,具体代码如下:
createBarrage(item) { const content = this.content; const span = document.createElement("span"); span.style.color = item.color; span.innerHTML = item.text; if (this.full) span.style.position = "fixed"; span.style.top = item.position + "px"; if (this.startFrom == "left") { span.style.left = "0px"; span.style.animation = `moveLeft ${this.time}s linear`; } else { span.style.right = "0px"; span.style.animation = `moveRight ${this.time}s linear`; } if (this.mask) { span.style.padding = "0.2em 0.5em"; span.style.backgroundColor = "#bbb2b2"; } content.appendChild(span); this.barrageNums++; this.destroyBarrage(span); },弹幕销毁
弹幕滚动到屏幕外的时候我们需要将其销毁
destroyBarrage(dom = null) { if (!dom) return; let content = this.content; if (content.offsetLeft + content.offsetWidth < dom.offsetLeft) { content.removeChild(dom); this.barrageNums--; } else { setTimeout(() => { this.destroyBarrage(dom); }, 1000); } },弹幕循环
在弹幕全部生成并且最后生成的弹幕已经走过1/3时间的时候生成下一波的弹幕
if ( index == this.showBarrageDate.length - 1 && this.repetition ) { setTimeout(() => { this.generateBarrage(); }, timeFlag * 1000 + this.time / 3); }5、实时弹幕发送

我们可以这里输入弹幕信息,然后发送弹幕,具体实现如下:
html
JavaScript
sendBarrage() { const obj = this.formatData({ ...this.sendObj }); this.showBarrageDate.push(obj); this.createBarrage(obj); },源码地址
代码已经开源,并且写了相关的文档对其进行了简单介绍,具体如下:
组件文档:
到此这篇关于vue封装一个弹幕组件详解的文章就介绍到这了,更多相关vue封装组件内容请搜索以前的文章或继续浏览下面的相关文章希望大家以后多多支持!
相关内容
- Vue与Axios的传参方式实例详解_vue.js_
- vue cli3 配置 stylus全局变量的使用方式_vue.js_
- Vue中的性能优化方案_vue.js_
- 微信小程序网络数据请求的实现详解_javascript技巧_
- vue中的stylus及stylus-loader版本问题_vue.js_
- node封装一个控制台进度条插件详情_node.js_
- element-ui中实现tree子节点部分选中时父节点也选中_vue.js_
- React Native 中限制导入某些组件和模块的方法_React_
- 微信小程序实现页面导航与传参功能详解_javascript技巧_
- vue.js数据响应式原理解析_vue.js_